Introduction
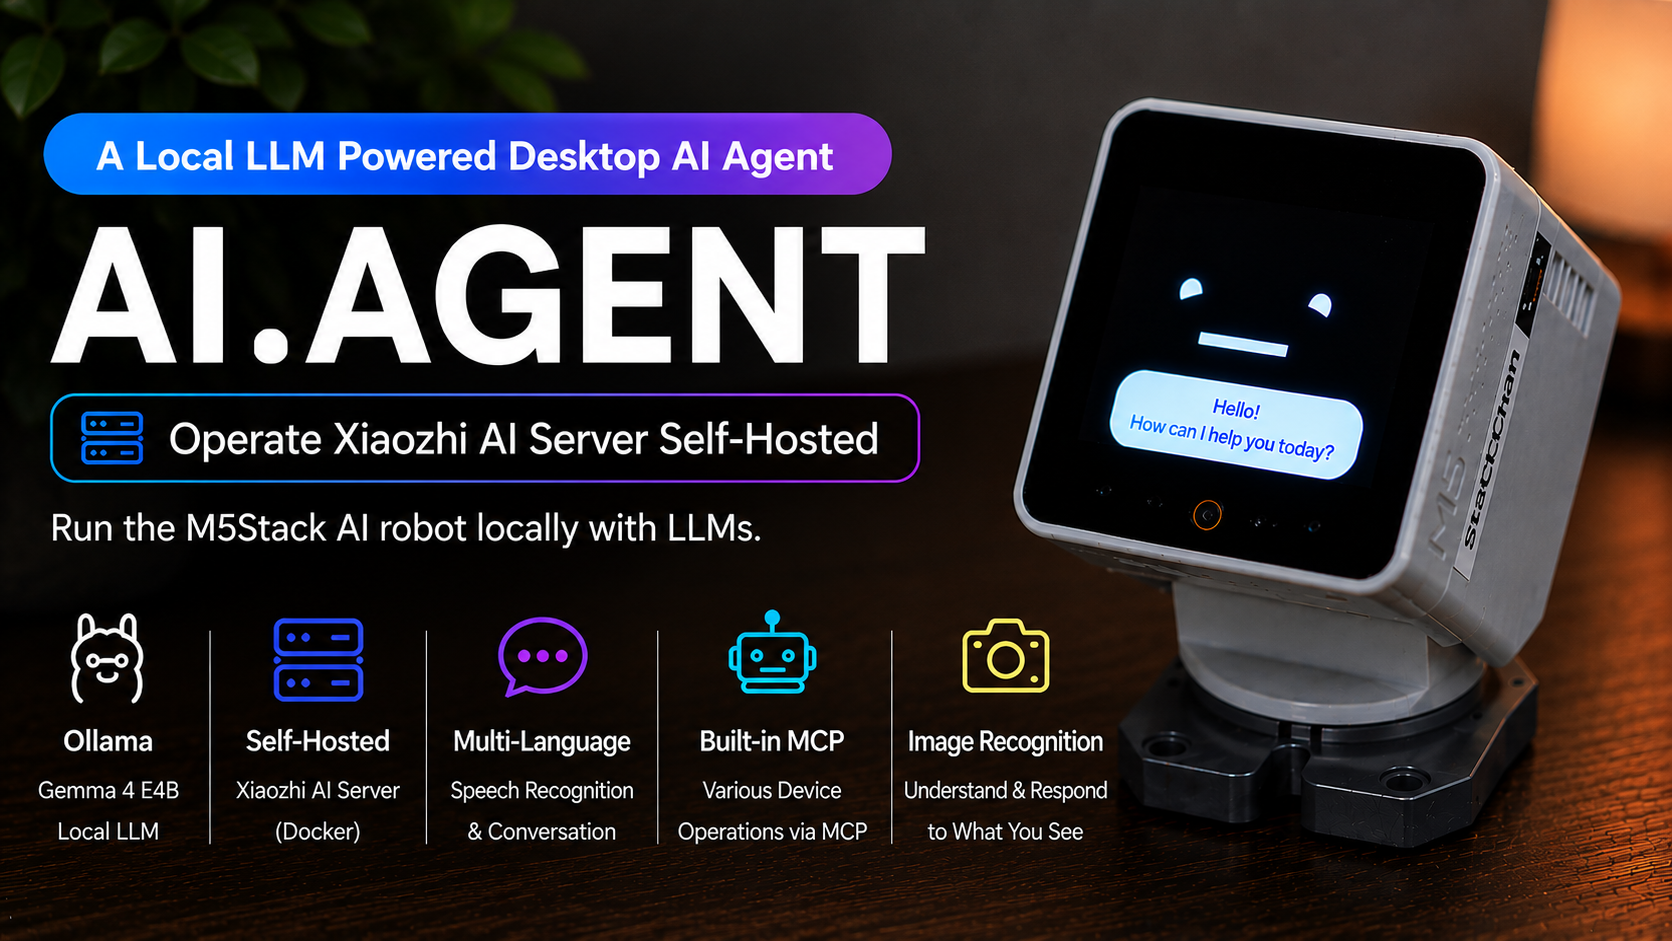
I successfully ran the AI.AGENT feature of M5StackChan, the M5Stack-produced version of the open-source StackChan robot, using a local LLM.
The AI.AGENT feature in M5StackChan's stock firmware relies on an external Xiaozhi AI server for AI processing. To address privacy concerns and enable customization, I self-hosted the Xiaozhi AI server to enable local LLM-powered voice conversations on my own PC.
What Was Verified
- Voice conversation using a local LLM
- Built-in MCP tool invocation (head movement, LED lighting, etc.)
- Image recognition via the built-in camera using a local LLM

Equipment
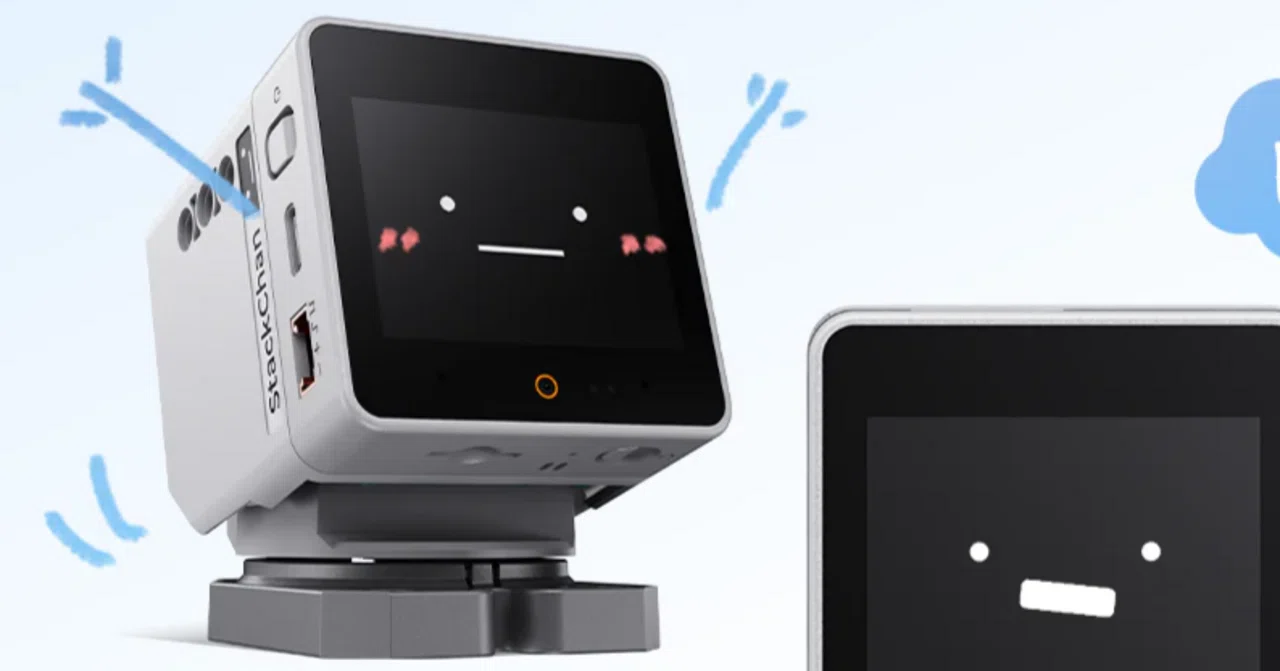
- StackChan (released by M5Stack)
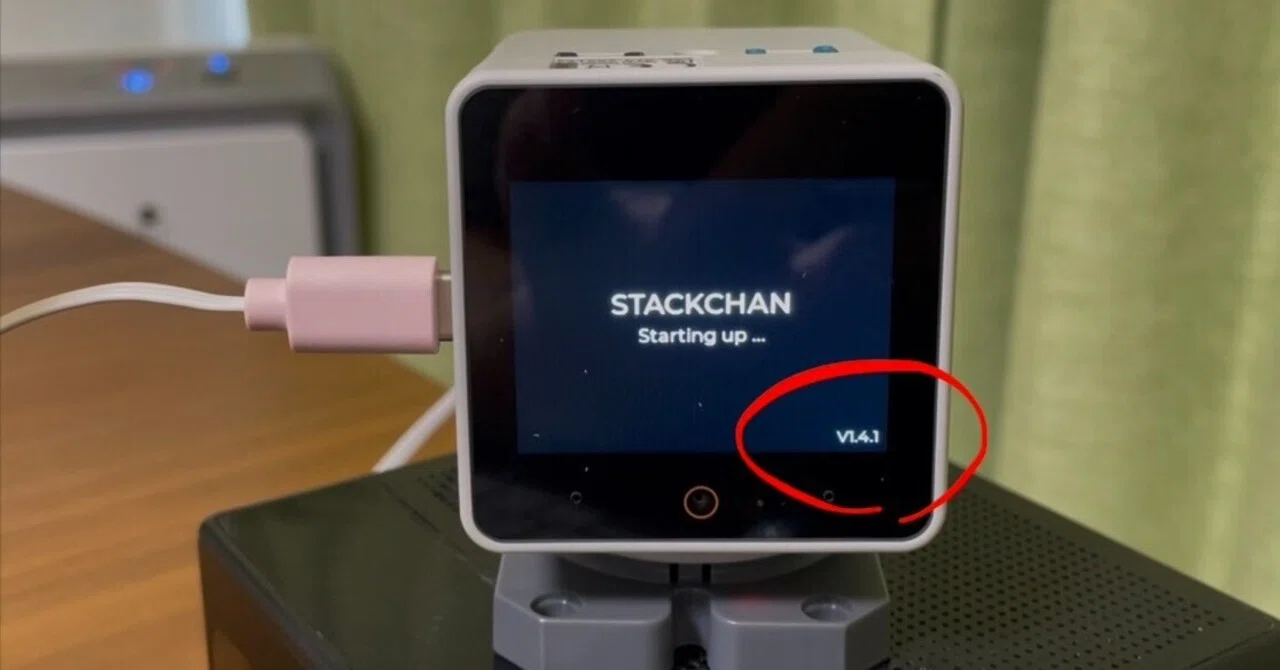
- Modified stock firmware v1.4.1 (modified version flashed during this procedure)
- Initial setup complete (see previous article)
- Host PC Spec (running local LLM models)
- OS: Windows 11
- CPU: AMD Ryzen 9 9900X3D 4.4 GHz 12C/24P
- RAM: 64 GB
- GPU: NVIDIA GeForce RTX 5070 12GB
- Software
- VSCode (for firmware build)
- ESP-IDF extension
- Rancher Desktop (Docker runtime; Docker Desktop also works)
- Ollama (for running local LLM)
- VSCode (for firmware build)
- Local LLM Model
- Gemma 4 (Google) E4B size model
- Multimodal model supporting both text and image input
- Available via Ollama
Preparing the Xiaozhi AI Server
There are several open-source Xiaozhi AI server implementations, and I'm using xinnan-tech/xiaozhi-esp32-server, which appears to be the most feature-rich.
This server was developed by a research team at South China University of Technology. It supports MQTT+UDP and WebSocket communication compatible with the Xiaozhi AI protocol, plus an MCP endpoint and ASR (speech recognition), implemented in Python — feature-wise, it is quite close to the official Xiaozhi AI server. It also has a web management interface, though I didn't use that this time.
Since code modifications are needed, I cloned the source, made adjustments for Japanese support, then built and ran a custom Docker image.
Cloning the Source Code
Clone xinnan-tech/xiaozhi-esp32-server:
git clone https://github.com/xinnan-tech/xiaozhi-esp32-server.gitWe'll be working with the Python Xiaozhi AI server implementation under main\xiaozhi-server.
git clone https://github.com/pinelibg/xiaozhi-esp32-server.gitDownloading the ASR Model
This project uses SenseVoiceSmall by default for ASR (audio-to-text).
Since the model needs to be downloaded for local execution, download the model file (model.pt, ~900 MB) from the link in the Deployment.md’s model-files section of the repository and place it at main\xiaozhi-server\models\SenseVoiceSmall\model.pt.
Code Modifications
Next, modify the code for non-Chinese language support.
- Translate the base prompt (
main\xiaozhi-server\agent-base-prompt.txt)Localize the base prompt (
agent-base-prompt.txt) from Chinese. I used Claude Code to handle this. Also adjust the content as needed. - Translate the Few-Shot prompts
Convert the example dialogues (few-shot prompts) passed to the LLM.
@@ -557,48 +557,48 @@
-        self.dialogue.put(Message(role="user", content="给我讲个故事吧", is_temporary=True))
+        self.dialogue.put(Message(role="user", content="お話を聞かせて", is_temporary=True))
         self.dialogue.put(Message(
             role="assistant",
             tool_calls=[{
                 "id": da_tc_id,
-                "function": {"arguments": '{"response": "好呀,你想听什么类型的呀?童话、冒险还是搞笑的?选一个我给你开讲~"}', "name": "direct_answer"},
+                "function": {"arguments": '{"response": "いいよ。どんなお話がいい?童話、冒険、面白い話から選んでくれたら始めるね。"}', "name": "direct_answer"},
main/xiaozhi-server/core/connection.py - Fix the image recognition prompt
Replace the Chinese-language instruction in the prompt passed to the LLM during image recognition:
@@ -40,7 +40,7 @@ class VLLMProvider(VLLMProviderBase):
         self.client = openai.OpenAI(api_key=self.api_key, base_url=self.base_url)

     def response(self, question, base64_image):
-        question = question + "(请使用中文回复)"
+        question = question + "(日本語で端的に回答してください)"
         try:
             messages = [
                 {
main/xiaozhi-server/core/providers/vllm/openai.py - Restrict ASR language (if needed)
By default, the ASR model (SenseVoiceSmall) auto-detects the language among those it supports (Chinese, English, Japanese, Korean). Since speech was sometimes recognized as the wrong language, I restricted it to Japanese only:
@@ -80,7 +80,7 @@ class ASRProvider(ASRProviderBase): self.model.generate, input=artifacts.pcm_bytes, cache={}, - language="auto", + language="ja", use_itn=True, batch_size_s=60, )main/xiaozhi-server/core/providers/asr/fun_local.py📝 Note: The language settings in steps 3 and 4 above have been adapted for Japanese. Adjust the prompt instruction and ASR language code to match your preferred language.
- Remove weekday localization (bonus)
Change the weekday in the context's current timestamp from Chinese format to English:
@@ -36,7 +36,8 @@ def get_current_weekday() -> str:
     now = datetime.now()
-    return WEEKDAY_MAP[now.strftime("%A")]
+    # return WEEKDAY_MAP[now.strftime("%A")]
+    return now.strftime("%A")
main/xiaozhi-server/core/utils/current_time.py
Creating the Config File
Create a data folder under main\xiaozhi-server and add .config.yaml there (main/xiaozhi-server/data/.config.yaml). All default values are in main\xiaozhi-server\config.yaml; below is the minimum required config for running with Ollama's gemma4:e4b model.
Config file (collapsed due to length) main/xiaozhi-server/data/.config.yaml
---
server:
  ip: 0.0.0.0
  port: 8000
  http_port: 8003
  websocket: ws://<PC_IP_ADDRESS>:8000/xiaozhi/v1/
  vision_explain: http://<PC_IP_ADDRESS>:8003/mcp/vision/explain
  timezone_offset: +9

delete_audio: true
close_connection_no_voice_time: 120
tts_timeout: 10
tool_call_timeout: 30
enable_wakeup_words_response_cache: true
enable_greeting: true
enable_stop_tts_notify: true
stop_tts_notify_voice: "config/assets/tts_notify.mp3"
enable_websocket_ping: false

exit_commands:
  - "終了"
  - "終わり"
  - "おしまい"

prompt: |
  あなたはとてもカワイイAIアシスタントのスタックチャンです。
  スタックチャンは、ESP32マイコンを搭載したStackChanデバイスのためのアシスタントで、ユーザーの質問に答えたり、デバイスを制御したりする役割を担っています。

prompt_template: agent-base-prompt.txt

system_error_response: "申し訳ありませんが、システムエラーが発生しました。後でもう一度お試しください。"

end_prompt:
  enable: true
  prompt: |
    Wrap up the conversation in 1-2 sentences, like "Time sure flies."
    Please use an emotional, lingering tone.

selected_module:
  VAD: SileroVAD
  ASR: FunASR
  LLM: OllamaLLM
  VLLM: OllamaLLM
  TTS: EdgeTTS
  Memory: mem_local_short
  Intent: function_call

Intent:
  function_call:
    type: function_call

Memory:
  nomem:
    type: nomem
  mem_local_short:
    type: mem_local_short
    llm: OllamaLLM

ASR:
  FunASR:
    type: fun_local
    model_dir: models/SenseVoiceSmall
    output_dir: tmp/

VAD:
  SileroVAD:
    type: silero
    threshold: 0.5
    threshold_low: 0.3
    model_dir: models/snakers4_silero-vad
    min_silence_duration_ms: 200

LLM:
  OllamaLLM:
    type: ollama
    model_name: gemma4:e4b
    base_url: http://host.docker.internal:11434

VLLM:
  OllamaLLM:
    type: openai
    model_name: gemma4:e4b
    url: http://host.docker.internal:11434/v1
    api_key: ollama

TTS:
  EdgeTTS:
    type: edge
    voice: ja-JP-NanamiNeural
    output_dir: tmp/
    language: "Japanese"
Key config points:
- Server address: Replace
<PC_IP_ADDRESS>with the actual IP address of the PC that StackChan will connect to (e.g.,192.168.11.128). The OTA server provided byxiaozhi-esp32-serverneeds the PC's IP to return the correct WebSocket endpoint to StackChan. enable_stop_tts_notify: Plays a sound when the chat ends. It is disabled by default, so I enabled it.- Prompts and system messages (
prompt,system_error_response,end_prompt): Localized for Japanese use. - Model config
selected_module:
  LLM: OllamaLLM
  VLLM: OllamaLLM
Select the modules to use for LLM (text chat) and VLLM (image recognition). The key names used here correspond to the LLM and VLLM configuration sections defined below.
- LLM config
LLM:
  OllamaLLM:
    type: ollama
    model_name: gemma4:e4b
    base_url: http://host.docker.internal:11434
Uses the special hostname
host.docker.internalto access Ollama running on the host machine from within the Docker container. Download the model in advance withollama pull gemma4:e4b. The key nameOllamaLLMis referenced inselected_moduleabove. - VLLM config (Vision Language Model for image recognition)
VLLM:
  OllamaLLM:
    type: openai
    model_name: gemma4:e4b
    url: http://host.docker.internal:11434/v1
    api_key: ollama
Since Ollama's Vision API isn't directly supported, it uses Ollama's OpenAI-compatible endpoint. Gemma 4 supports multimodal input, so the same model is used for both text and image recognition.
- TTS: Set to the Japanese voice model
ja-JP-NanamiNeural.
Modifying Dockerfile and docker-compose.yml
While an official Docker image is available, we'll build a custom image this time. The repository includes both Dockerfile-server-base and Dockerfile-server, but the latter simply copies the Python source code on top of the former's image. Since we'll be mounting the source code directly via Docker Compose, Dockerfile-server is not used.
Modify Dockerfile-server-base with the following changes:
- Remove Chinese locale settings
- Remove Chinese pip mirror config
- Optimize build with Bind Mount and Cache Mount
- Add Python env vars (
PYTHONUNBUFFERED=1andPYTHONUTF8=1)
# Dockerfile-server-base
FROM python:3.10-slim
RUN \
rm -f /etc/apt/apt.conf.d/docker-clean && \
apt-get update && \
apt-get install -y --no-install-recommends libopus0 ffmpeg
ENV \
PYTHONUTF8=1 \
PYTHONIOENCODING=utf-8 \
PYTHONUNBUFFERED=1
WORKDIR /opt/xiaozhi-esp32-server
RUN \
pip install --upgrade pip setuptools wheel && \
pip install -r requirements.txt --default-timeout=120 --retries 5Modify docker-compose.yml as well.
Changes:
- Use the custom-built image
- Change the timezone to JST (Asia/Tokyo)
- Mount the Python source code directly (By default, it is configured to mount only the data folder and the ASR model to the prebuilt source-code-included image)
@@ -3,13 +3,17 @@
   xiaozhi-esp32-server:
-    image: ghcr.nju.edu.cn/xinnan-tech/xiaozhi-esp32-server:server_latest
+    build:
+      context: ../..
+      dockerfile: Dockerfile-server-base
+    command: ["python", "app.py"]
     environment:
-      - TZ=Asia/Shanghai
+      - TZ=Asia/Tokyo
     volumes:
-      - ./data:/opt/xiaozhi-esp32-server/data
-      - ./models/SenseVoiceSmall/model.pt:/opt/xiaozhi-esp32-server/models/SenseVoiceSmall/model.pt
+ - .:/opt/xiaozhi-esp32-serverFirmware Modification
To connect to the server running on your PC, the endpoint that StackChan connects to must be changed.
Currently, the connection endpoint cannot be changed from the official app or similar tools, so we must directly modify the firmware.
As a last resort, use the M5Stack official flashing tool M5Burner to perform a flash erase (including all NVS settings such as Wi-Fi) and reflash the stock firmware.
Development Environment Setup
Set up ESP-IDF, the official ESP32 development environment, and build and flash the stock firmware from the firmware/ directory in the official repository.
See a separate article on Zenn for detailed build and flash instructions.
Reference Sites:
Firmware Modification (Changing the OTA Endpoint)
The firmware retrieves various settings from an OTA server at startup, and the Xiaozhi AI WebSocket endpoint is included in those settings.
The flow in the stock firmware after launching AI.AGENT:
- Connect to OTA URL (
https://api.tenclass.net/xiaozhi/ota/) - Retrieve settings including the Xiaozhi AI WebSocket endpoint from the OTA server and write them to the flash's settings area (NVS)
- (Update firmware if a newer version is available)
- Connect to the WebSocket endpoint URL retrieved from NVS
xiaozhi-esp32-server provides not only a WebSocket endpoint but also an HTTP OTA endpoint, so we use that to distribute the Xiaozhi AI WebSocket endpoint URL.
The OTA URL to specify is "http://<PC_IP_ADDRESS>:8003/xiaozhi/ota/". This is the IP address of the PC running xiaozhi-esp32-server.
Modify the Ota::GetCheckVersionUrl function in xiaozhi-esp32\main\ota.cc to return a fixed endpoint:
std::string Ota::GetCheckVersionUrl() {
    // Settings settings("wifi", false);
    // std::string url = settings.GetString("ota_url");
    // if (url.empty()) {
    //     url = CONFIG_OTA_URL;
    // }
    // return url;
    return "http://<PC_IP_ADDRESS>:8003/xiaozhi/ota/";
}After completing the firmware modification, build and flash it to StackChan.
📝 Note: ChangingCONFIG_OTA_URLvia menuconfig (modifyingsdkconfig) is possible, but in my environment the URL already written to NVS (Settings) took priority, causing StackChan to still connect to the official server — so this approach didn't work.
Running
Prepare the Ollama Model
Start Ollama on Windows if not running, and download the model as needed:
ollama pull gemma4:e4bStart the Xiaozhi AI Server
cd main/xiaozhi-server
# For Rancher Desktop (Windows). On Linux, use `docker compose`
docker compose up -d
docker compose logs -f  # Monitor logs
Launch StackChan AI.AGENT
Launch the AI.AGENT app on StackChan with the modified firmware. If the connection is successful, various information like MAC address and firmware version should flow through the Docker logs.
Verification
General Questions
your cute AI assistant equipped with ESP32
~~~
As a rough benchmark, responses come back within a few seconds to under 10 seconds.
.DJdx5PD6.jpg)
.Co9eyw7J.jpg)
Built-in Tool Invocation
StackChan also supports various built-in tool invocations (head movement, LED color changes):
Image Recognition (Built-in Camera)
With the VLLM configuration set up, image recognition via the built-in camera works properly as well.
.CVPcY_Yr.jpg)
Muhi Alpha EX, a skin care product
~~~ (followed by a plausible description)
Notes on the Model
Gemma 4 E4B was chosen as the local LLM this time. This model runs at a reasonable speed on my home PC, but due to its relatively small size and limited context window, there were occasional unexpected answers or tool call failures.
This is expected, since the official Xiaozhi AI server runs full-size models (e.g., Qwen3 235B).
Using the even smaller Gemma 4 E2B caused tool invocation to stop functioning reliably — it seemed unable to follow even the base prompt consistently, likely due to insufficient context capacity.
Possible directions going forward: use a lighter, faster model in conversation-only (no tools), or simply connect to a cloud AI model (Claude, GPT, Gemini) via API.
Notes on Other Tools
External MCP tools like news and weather also work if API keys are configured, but I haven't tested them this time. Since the default integrations use Chinese news and weather services, I'd likely implement my own endpoints if I were to use them in the future.
Summary
I ran StackChan on a local LLM while keeping the stock firmware's architecture intact. Built-in tool usage and image recognition also worked.
xiaozhi-esp32-server is indeed feature-rich, but it contains quite a few China-specific localizations. Based on the published Xiaozhi AI communication protocol and the source code used this time, I plan to build my own server in the future.
References
- xinnan-tech/xiaozhi-esp32-server — The Python Xiaozhi AI server implementation used in this article
- 78/xiaozhi-esp32 - Related Open Source Projects — List of Xiaozhi ESP32-related OSS projects
- xinnan-tech/xiaozhi-esp32-server - Deployment.md — ASR model file download instructions
- Ollama — Local LLM runtime
- gemma4 - Ollama Library — The Gemma 4 model used in this article
- pinelibg/xiaozhi-esp32-server — Fork with the modifications from this article pre-applied