Introduction
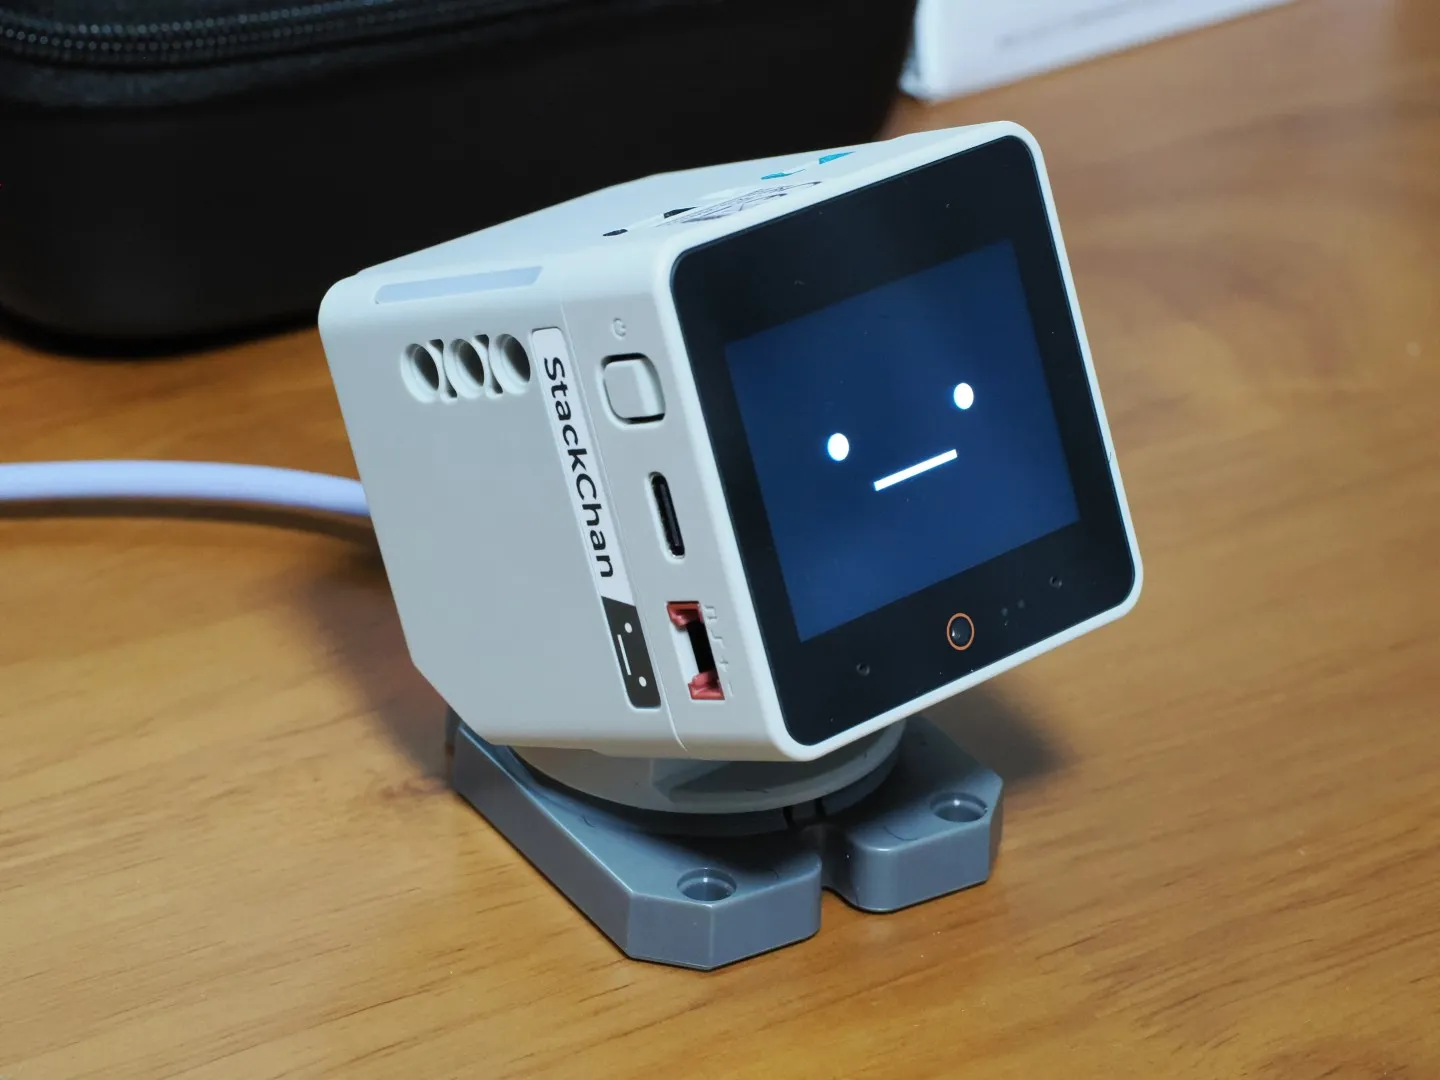
My M5StackChan, the M5Stack-produced version of the open-source StackChan robot, has finally arrived from Kickstarter.
This model is the commercialized version of the original StackChan, a Japanese open-source desktop robot. The original project has its design files published as open source, allowing anyone to build their own by combining an M5Stack with 3D-printed parts and RC servo motors.
.DFytMS21.jpg)
The main unit is the M5Stack CoreS3 (ESP32-S3). CoreS3 supports Wi-Fi (2.4 GHz) and BLE, and features a 2.0-inch touchscreen, camera, dual microphones, and a speaker. StackChan combines this with two head-pan servo motors, various sensors (infrared, NFC), an RGB LED array, and a 550 mAh battery.
It ships with pre-installed firmware supporting AI agent conversation and avatar features, so you can explore a wide range of functions right out of the box.
This article covers everything from unboxing to pairing with the smartphone app and verifying AI conversation and other features, all using the stock firmware.
Equipment
| Item | Notes |
|---|---|
| M5StackChan (StackChan released by M5Stack) | Obtained via Kickstarter (now available at the official shop) |
| USB-C Cable | For power supply and charging; the included cable works fine |
| Smartphone | This article uses Android. Steps are essentially the same on iOS |
Unboxing
StackChan arrived packaged in a black portable case.

.hLp8u5P0.jpg)
Inside are four items: the StackChan unit, a USB cable (Type-C to Type-A), a multilingual quick-start guide, and StackChan stickers.
Unlike the original version that requires printing and assembling parts, this ships fully assembled and ready to use right out of the box.
Setup
To configure Wi-Fi and AI agent settings, you need to pair the smartphone app with StackChan.
The steps below are described for Android, but the process should be essentially the same on iPhone (iOS).
1. Install the StackChan App
First, install the official StackChan app on your smartphone.
- Android: StackChan World (Play Store)
- iOS: StackChan World (App Store)
2. Log in with Your M5Stack Account
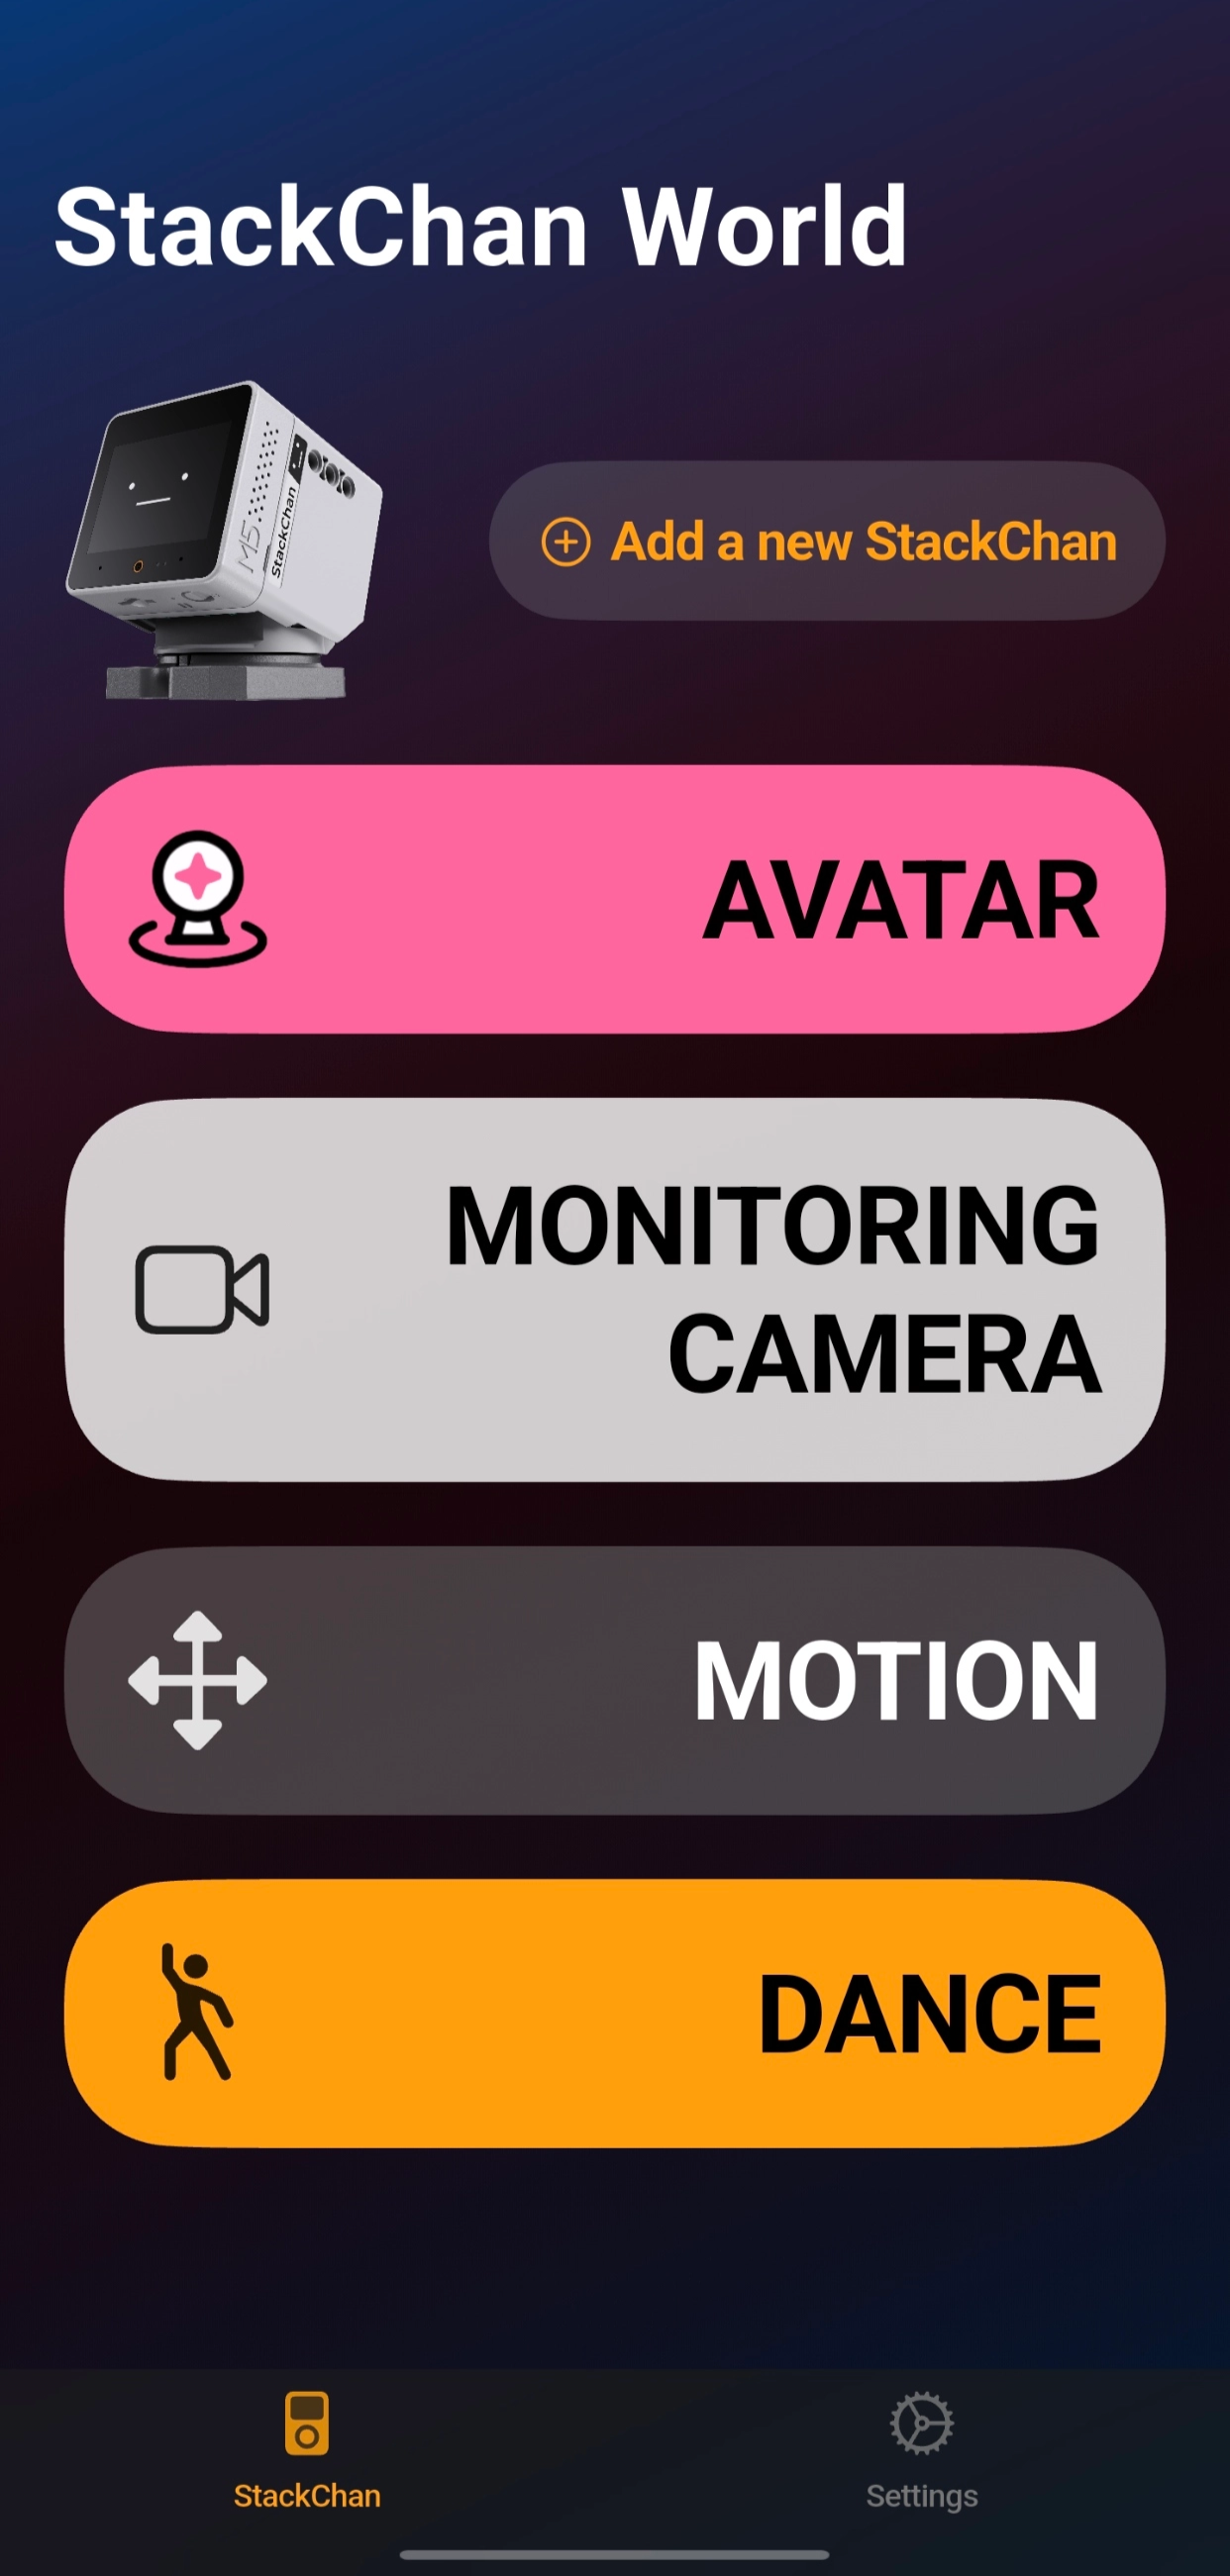
After launching the app, log in or create a new M5Stack account. An M5Stack account is shared across M5Stack's official services such as UiFlow.

3. Power On StackChan
Press the power button on the left side of the robot to turn it on. The initial setup guide screen will appear.
From here, follow the on-screen instructions and tap directly on the touchscreen to proceed.
.Dra2fi54.jpg)
4. Servo Test
With StackChan placed on a flat surface, tap Start to run the servo motor test. StackChan's head will move left/right and up/down — verify that the range of motion looks correct.
.ojgvpMl1.jpg)
.CxZ2LKs1.jpg)
.CgJcuREG.jpg)
5. Bluetooth Scan from the App
Once the setup flow reaches the ID screen, open the app and tap + Add a new StackChan. Your smartphone will automatically scan for nearby StackChan devices and list them. Confirm the device whose ID matches the one shown on StackChan's screen, then select it.
.C0m8hD1-.jpg)
.BF_mFbt4.jpg)

6. Enter Initial Settings
Follow the app's prompts to configure the following items in order.
.BT44q6U6.png)
.DrqqQVdp.png)
.Btnl6HyL.png)
| Item | Description |
|---|---|
| Device Name | A name to distinguish multiple StackChan units |
| Assistant Name | The name StackChan uses to refer to itself in AI agent conversations |
| Language | Language for AI agent conversation. Select Japanese (日本語) to chat in Japanese |
| LLM Model | LLM to use. Various open-weight models (Qwen, DeepSeek, etc.) are available |
| Voice Settings | StackChan's voice settings |
| Wi-Fi Name | Wi-Fi SSID. Only 2.4 GHz networks are supported (5 GHz is not) |
| Wi-Fi Password | Wi-Fi password |
After completing this step, AI conversation is available without needing to configure API keys or flash additional firmware.
Testing
Home Screen
After the initial setup is complete (and also after each subsequent power-on), the home screen displays the available apps included in the stock firmware. Swipe or tap the < > buttons on the sides of the screen to switch modes, then tap the center to launch an app.
To return to the home screen, swipe upward from the bottom of the screen and tap the 🏚️ icon that appears.
.CP35lSYn.jpg)
Firmware Update
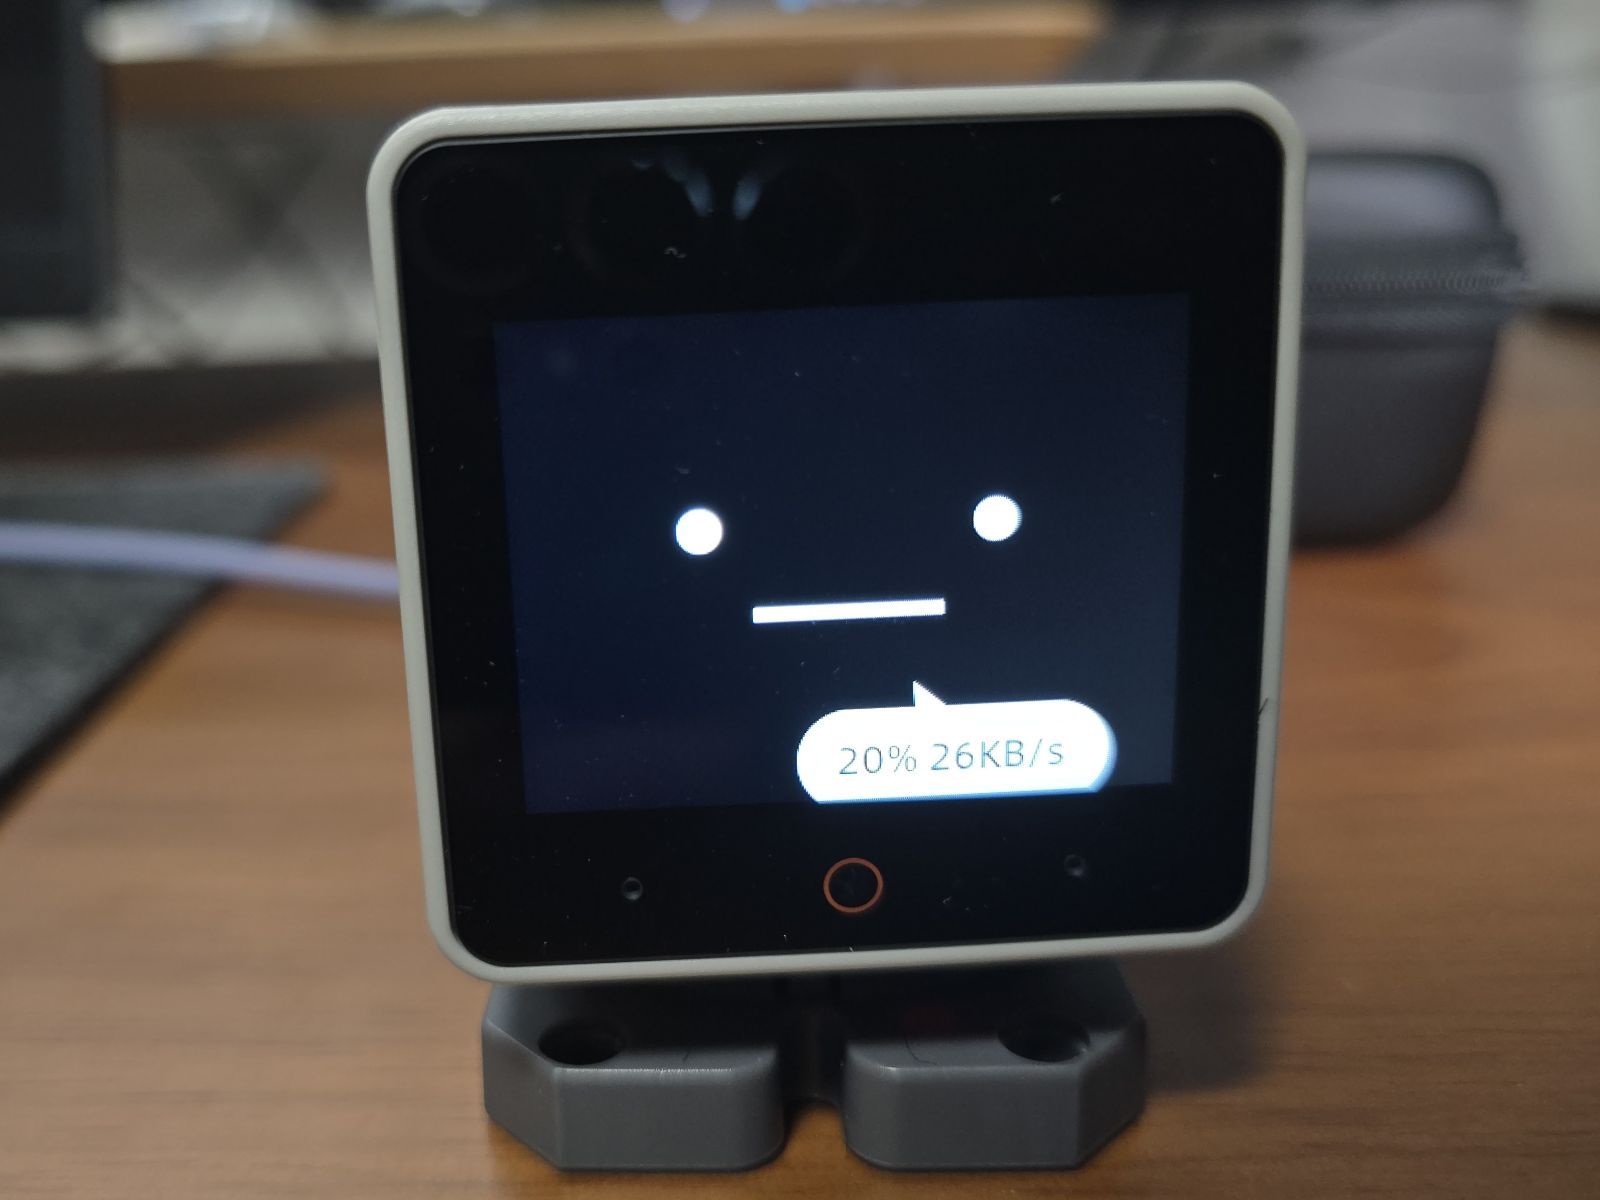
When you launch AI.AGENT mode from the home screen, the current firmware version is shown and an update check runs. If a newer version is available, an OTA update starts automatically over Wi-Fi.
In my case, the unit shipped with v1.2.3. Since v1.2.4 was already available at the time of testing, StackChan immediately said "Upgrading the System" after the update check and began updating. The download took more than ten minutes to complete.
.CVjQrbpL.jpg)
AI.AGENT (AI Chat Mode)
After the update completes, re-entering AI.AGENT mode plays a chime and enters standby after the firmware update check. When left idle, StackChan swings its head around to look in various directions, and reacts when you touch its head.
.CWP--8L0.png)
Say the wake word "Hi, StackChan" to activate the AI agent and start chatting. Voice input is captured by the microphone and responses play through the speaker. Note that StackChan won't accept input until it has finished speaking, so timing is important.
ℹ️ As of writing (2026/04/24–26): At first (v1.2.4), the voice output was choppy, but a subsequent update (v1.2.6) fixed this and it now speaks smoothly.
Since it runs an LLM, it can answer general questions — though web search is not available, so answers are limited to the model's training data. The current time appears to be included in the context, so it can also report the current time.
Other capabilities can be triggered via the AI agent, likely through MCP. When I asked StackChan what it can do, it listed the following:
- API integrations
- Weather: Ask "What's the weather in [location] tomorrow?" and it retrieves the latest forecast via API.
- News search: Defaults to Chinese news sources, so you need to explicitly ask for Japanese news.
- Music search and playback: Testing with a random song request played Chinese vocal music.
- Built-in robot functions
- Camera: Takes a photo with the CoreS3 camera, displays it on screen, then uses a vision model to describe what it sees.
- Reminder: Can set reminders for a specified number of minutes in the future; the content appears on screen at the set time.
- Head direction: Can be directed with commands like "Look right."
- Screen brightness and theme changes.
- Speaker volume adjustment.
- RGB LED color changes.
The LLM interprets commands flexibly, enabling it to trigger agent actions even beyond fixed phrases.
.CmIQlUoI.jpg)
.6WeZ2S54.jpg)
Avatar Mode (Smartphone App Integration)
StackChan's Avatar mode is a standby mode for using the smartphone app's features. Switching to Avatar mode from the home screen enables the following:
- MOTION mode: Use an on-screen joystick to move StackChan's head freely, and adjust the position and size of its eyes and mouth.
- AVATAR mode: StackChan mirrors the head movements and facial expressions of the person in front of the smartphone camera in real time.
- MONITORING CAMERA mode: View the front camera's live feed on your smartphone.
.B9CxJYFL.png)
Summary
Setting up StackChan — from app installation to pairing and Wi-Fi configuration — is completed simply by following the on-screen prompts on StackChan's display.
No firmware flashing or API key configuration is required; all features including AI conversation are immediately available simply by logging into your M5Stack account. It was even more straightforward than I expected. The automatic OTA firmware updates and MCP-powered AI agent integration also turned out to be more full-featured than anticipated.
There are more stock firmware features I haven't tried yet, including smart home integration, additional apps, and a dance function, so I plan to keep exploring. I'm also looking forward to modding it as the development environment continues to mature.
References
- StackChan - M5Stack Documentation — Official M5Stack docs for StackChan (includes setup instructions)
- m5stack/StackChan - GitHub — M5Stack official version open source repository
- stack-chan/stack-chan - GitHub — Original スタックチャン project (open source)